Kitchen remodeling is often seen as a daunting, time-intensive task that requires significant planning and patience. But what if we told you it’s entirely possible to refresh your kitchen in just two weeks or less? Sounds ambitious, right? With the right strategy, tools, and momentum, you can transform your kitchen into an efficient, stylish space without disrupting your life for months.
From setting a realistic budget to putting on the finishing touches, this guide will walk you through a step-by-step process to achieve a quick and successful kitchen remodel. Whether you’re embarking on a DIY kitchen update or working with professionals, this is your roadmap to a hassle-free, rapid kitchen renovation.
Planning and Preparation (Days 1-2)
Setting a Realistic Budget
Before swinging a hammer or picking paint colors, establish a clear budget. Determine how much you’re willing to spend and allocate funds for key areas such as cabinets, countertops, and labor. Don’t forget to set aside 10-15% of your budget for unexpected expenses that might pop up during the remodel.
For example:
- Cabinets: Allocate 30–35% of your budget.
- Countertops: Budget around 10–15%.
- Labor Costs: Reserve 25–30% if hiring professionals.
Using cost-estimating tools or consulting with contractors can help you build a feasible budget without surprises.
Defining Your Style and Needs
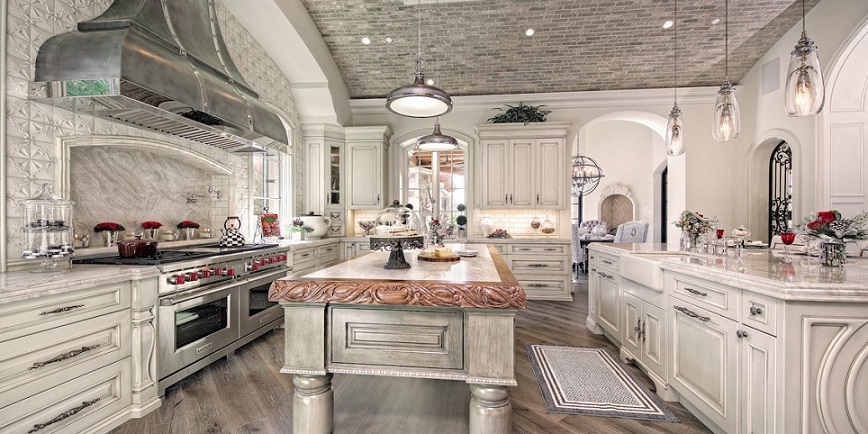
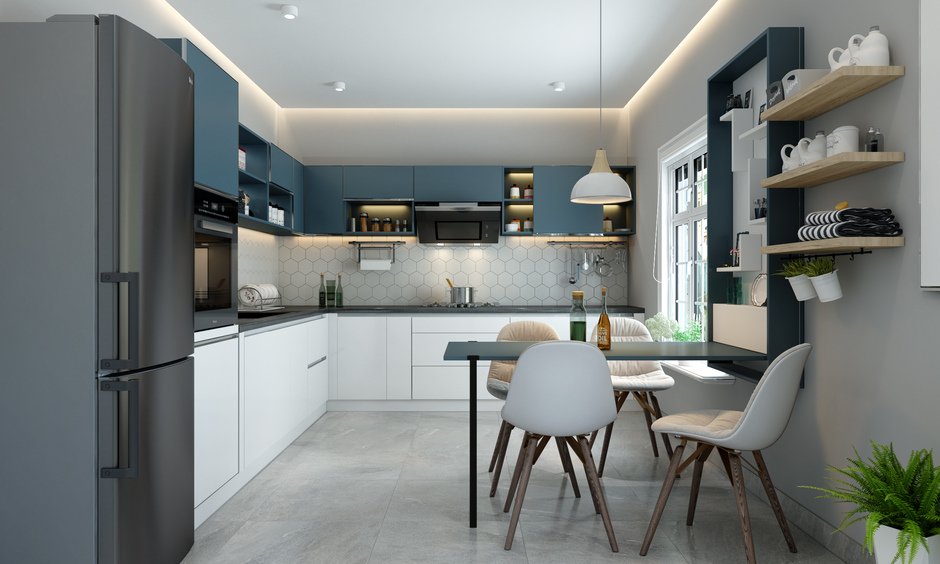
Is your style modern and minimalist, or do you prefer bold, vibrant kitchen designs? Narrowing down your aesthetic will streamline decision-making. Use inspiration boards, Pinterest, or design magazines to explore ideas. More importantly, consider the functionality of your kitchen:
- Do you need more storage?
- Would an open-concept layout improve flow?
- Are energy-efficient appliances a priority?
Creating a Detailed Timeline
A solid plan is the backbone of a smooth remodel. Break the two weeks into achievable milestones, outlining what needs to happen each day. Share this timeline with contractors and suppliers to ensure everyone stays on track.
Here’s an example:
- Days 1–2: Budgeting, permits, and material orders.
- Days 3–4: Demolition and structural fixes.
- Days 5–12: Installations (cabinets, countertops, appliances, and lighting).
- Days 13–14: Finishing touches and clean-up.
Securing Permits and Approvals
If your renovation involves structural alterations, electrical work, or plumbing updates, check your local regulations. Apply for permits early to avoid delays. Your contractor can guide you through this process and ensure compliance with safety codes.
Tip: Some minor DIY kitchen updates, such as replacing cabinet hardware or countertops, may not require permits.
Demolition and Structural Work (Days 3-4)
Safe Demolition Practices
Tearing down old cabinets, countertops, and worn-out tiles can be satisfying but requires caution. Wear protective gear like gloves and goggles to avoid injuries. Shut off power and water lines to avoid mishaps before demolishing.
Pro Tip: Take the opportunity to donate or recycle fixtures, such as old cabinetry or appliances, instead of discarding them.
Addressing Structural Issues
Demolition often reveals underlying issues, like plumbing leaks, wiring problems, or uneven floors. Inspect and address these before moving forward. Having a backup fund in your budget ensures you’re prepared for such surprises.
Plumbing and Electrical Rough-In
After addressing structural issues, focus on essential services. Upgrade pipes or wiring as necessary to accommodate updated appliances and lighting. It’s best to leave this stage to professionals unless you’re an experienced DIYer.
Did you know? Newer kitchen appliances often require dedicated circuits to handle greater power needs.
Installation Phase (Days 5-12)
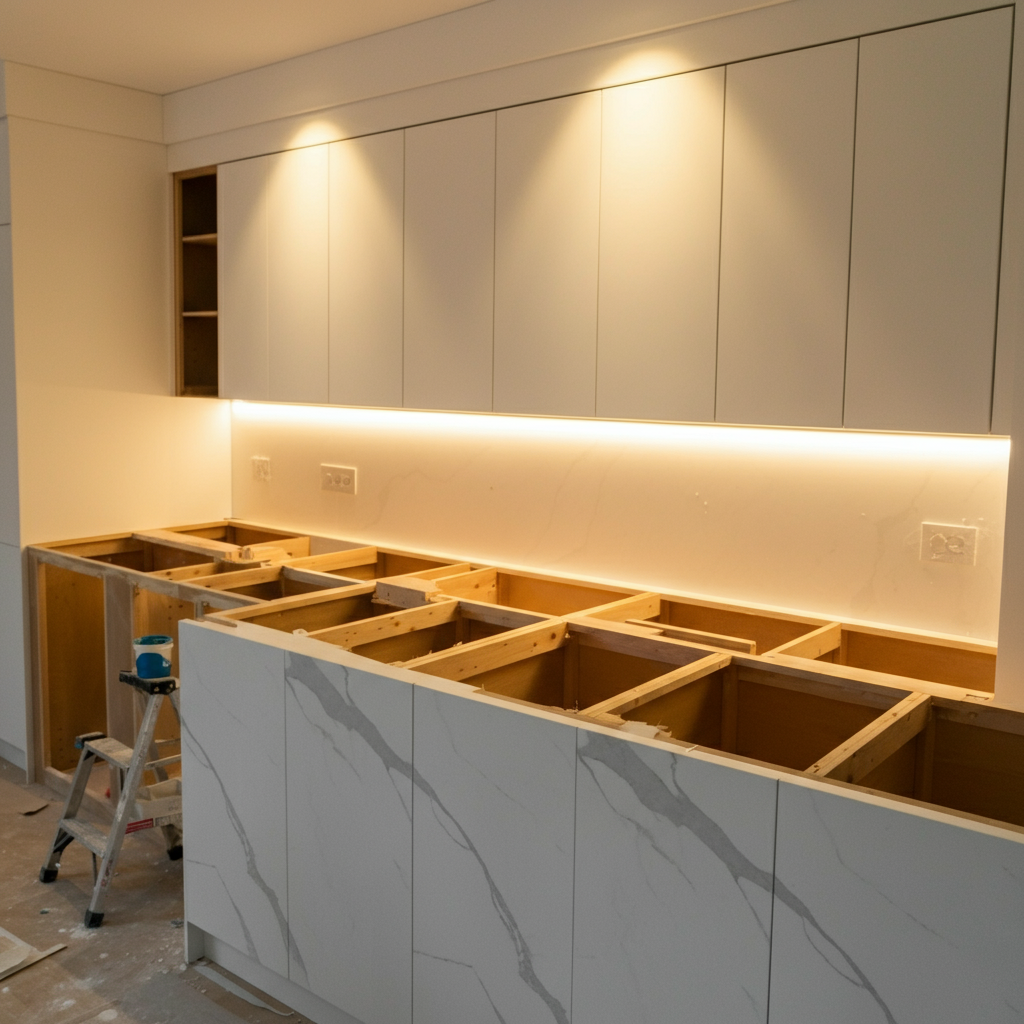
Cabinet Installation
Start with your cabinetry, as this forms the foundation of your kitchen layout. Modern prefabricated cabinets can save time, but if you opt for custom solutions, ensure they’re pre-ordered to arrive on time.
Pro Tip: Use shims to ensure cabinets are perfectly level, as uneven cabinets can cause alignment issues with countertops and backsplashes.
Countertop Installation
Next up is installing countertops. Materials like quartz or granite add durability and style, while laminate options provide a budget-friendly alternative. Accurate measurements during installation ensure a seamless fit.
Backsplash Installation
Add personality with an eye-catching backsplash. Choose tiles that complement your countertop and cabinets. Sticky or peel-and-stick tiles can be a fast, DIY-friendly option.
Appliance Installation
Now it’s time to introduce your appliances:
- Refrigerator
- Oven
- Dishwasher
Make sure all connections (plumbing and electrical) are secure and functioning correctly.
Flooring Installation
Laminate, engineered wood, or luxury vinyl planks are quick-to-install flooring options. These materials offer durability while supporting rapid remodeling schedules. Tip: Start with one corner of the room and work your way methodically for a clean finish.
Lighting Fixtures
Install under-cabinet lighting or pendant lights above the island to illuminate your kitchen beautifully and practically. LED fixtures are an energy-efficient option that lasts longer.
Finishing Touches (Days 13-14)
Painting and Wall Finishes
Add the final layer of charm to your kitchen with fresh paint. Soft neutrals work best for smaller kitchens to make them look spacious, while accent walls can bring a touch of flair.
Painting Tip: Use painter’s tape along edges and trims to ensure clean lines and avoid drips.
Hardware Installation
Install drawer pulls, cabinet knobs, and faucets to complete the look. Small details like these tie together the entire kitchen design.
Final Inspections and Clean-Up
Before wrapping up, conduct a thorough inspection:
- Test appliances and fixtures.
- Check for leaks or electrical issues.
- Ensure everything meets building codes.
Finally, clean the space to make it ready for use.
Celebrate: It’s time for your first meal in your revamped kitchen!
People Also Ask
How much does a kitchen remodel cost?
A kitchen remodel can range from $10,000 to $50,000, depending on the scope, materials, and whether you hire professionals. Setting a clear budget upfront is vital.
Can I live in my house during a kitchen remodel?
Yes, but it requires careful planning. Set up a temporary kitchen with essentials like a microwave and mini-fridge. You may also want to plan meals that require minimal prep.
What are the latest kitchen design trends?
Currently, trends include open shelving, mixed materials (wood and metal), and eco-friendly appliances. Matte black finishes and bold-colored cabinetry are also gaining popularity.
Transform Your Kitchen in Just Two Weeks
Remodeling a kitchen in two weeks might seem like an impossible challenge, but with proper planning and execution, it’s entirely achievable. By following this structured process, you’ll save time, money, and the stress of prolonged projects while enjoying a refreshed, functional space in record time.
If you’re ready to kickstart your kitchen remodel, why wait? Whether you’re tackling a DIY project or seeking professional help, the key is to stay organized and stick to your timeline. Start today and transform your space into the kitchen of your dreams